
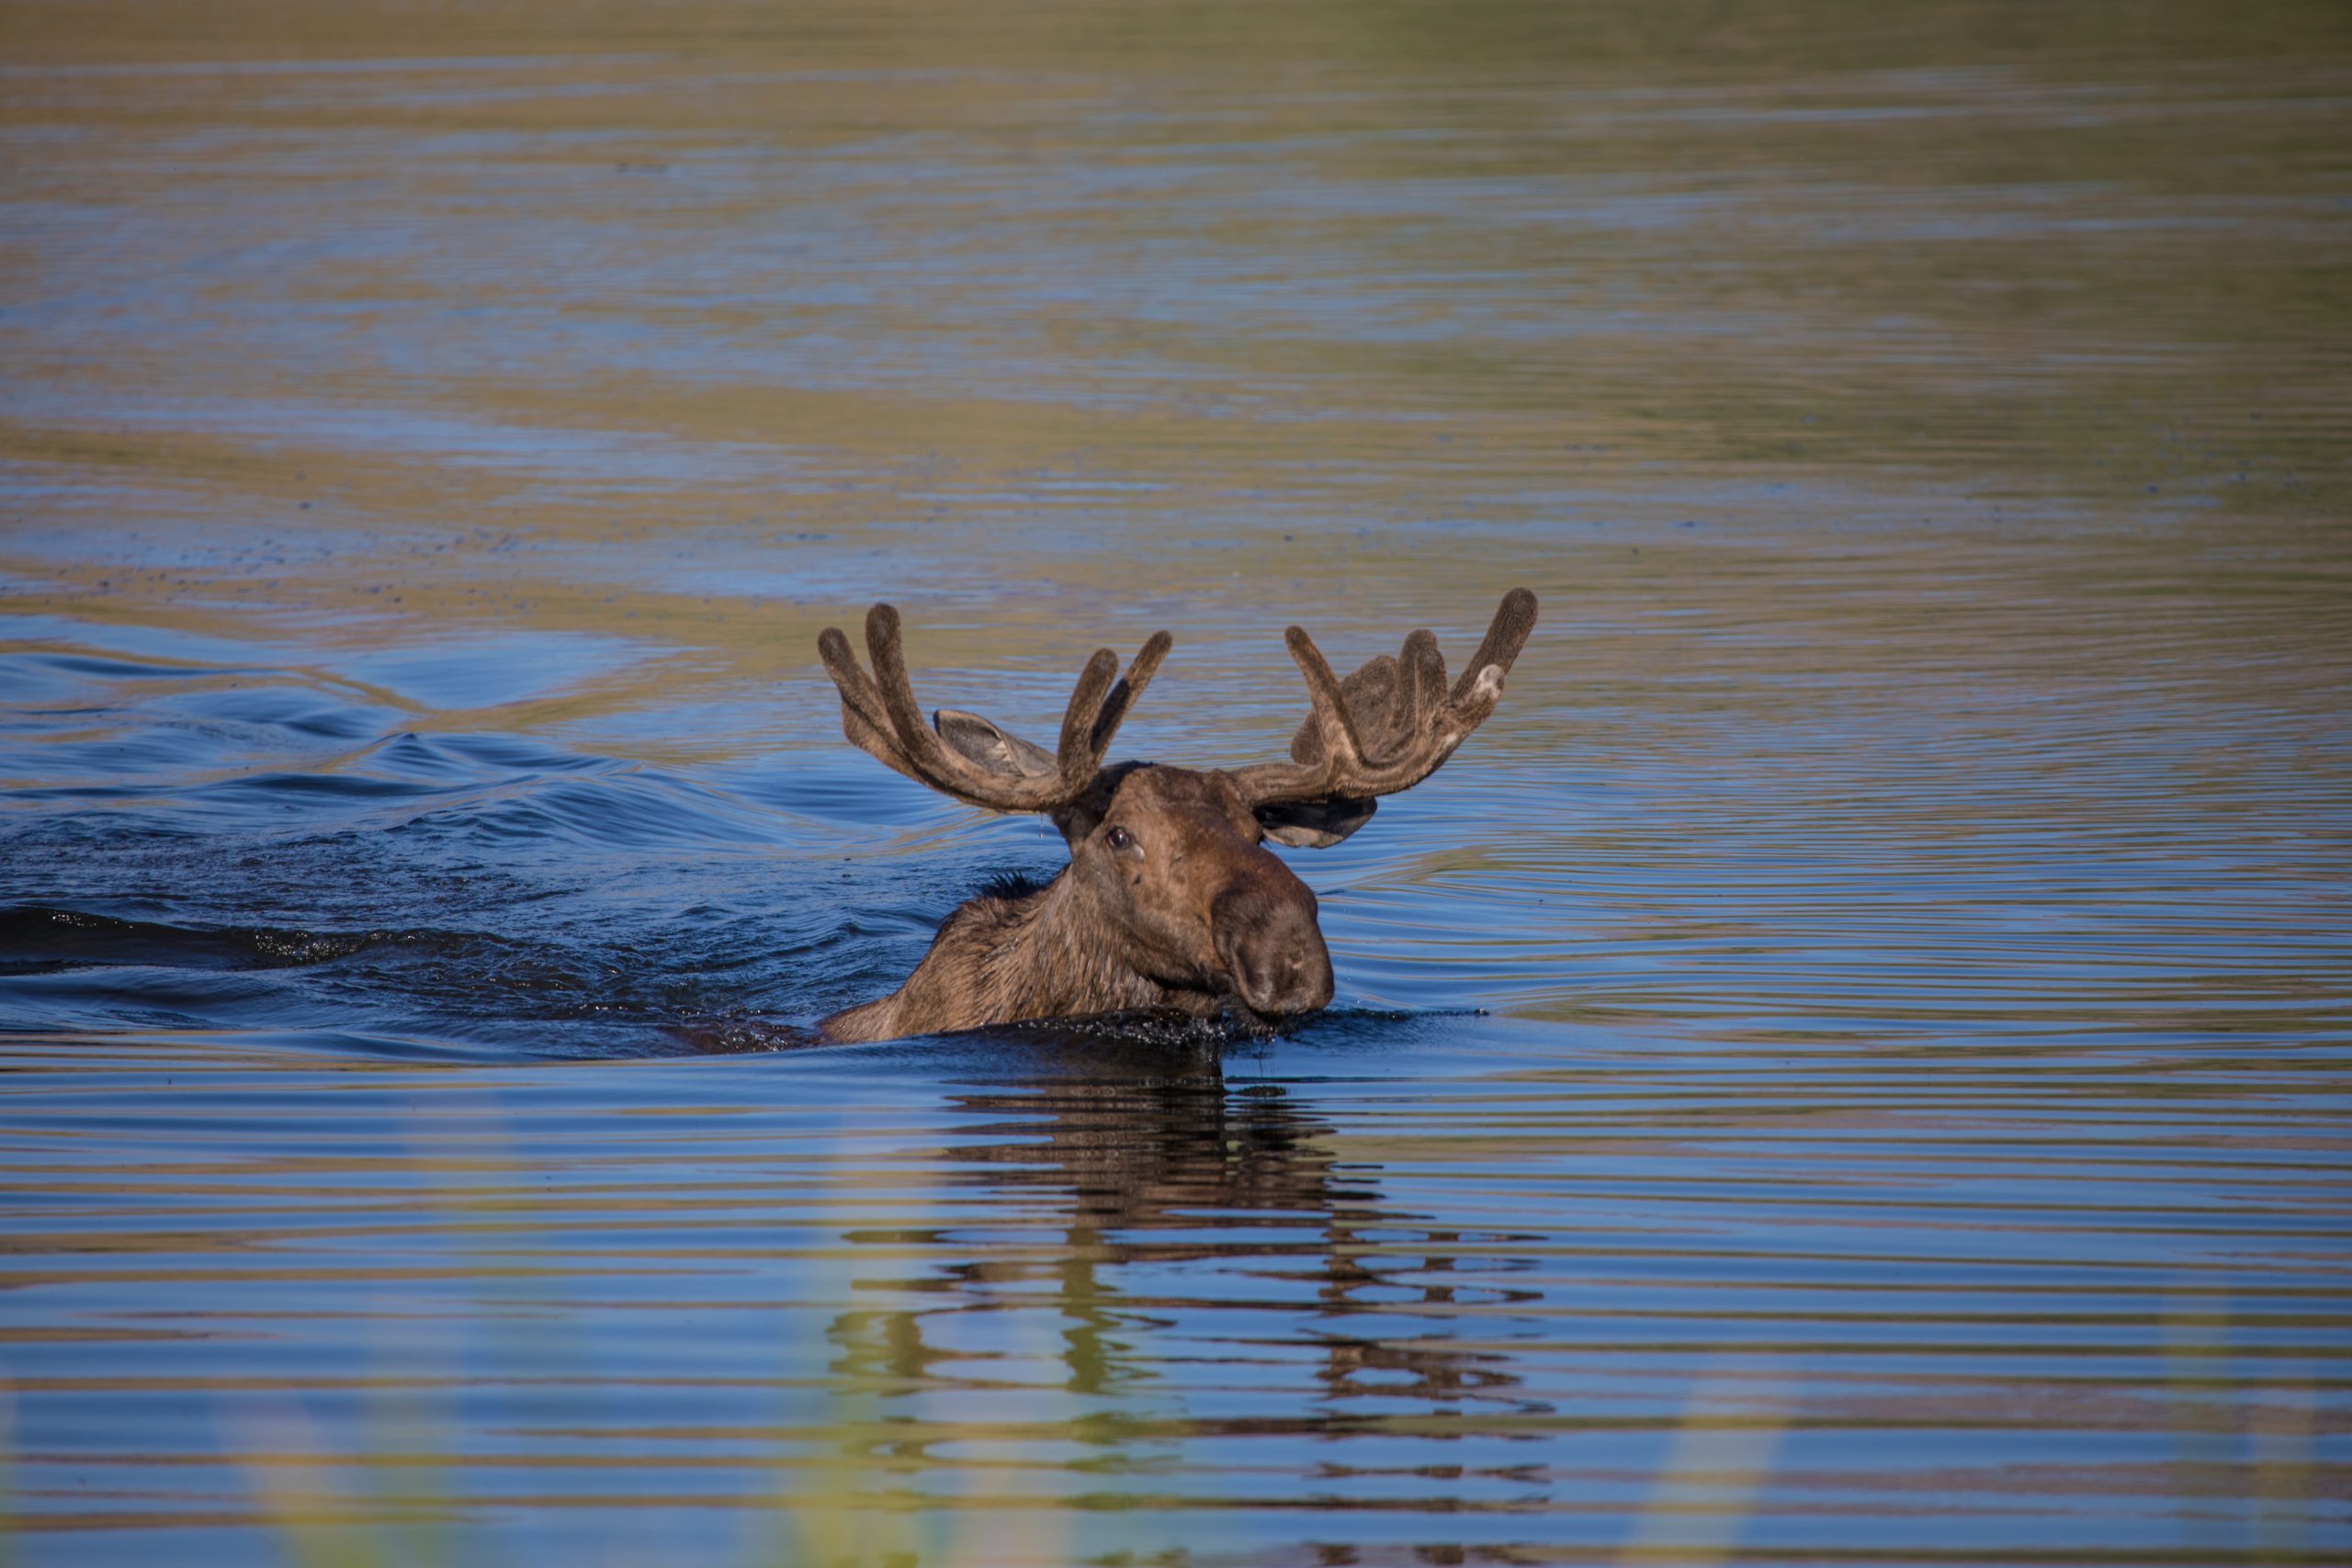
A moose is the largest North American animal most hunters will ever harvest. A mature bull can dress out at well over 700 pounds of meat — enough to fill a freezer for a year — but only if the work that begins the moment the animal hits the ground is done right. Field dressing is where a moose hunt is won or lost as a food enterprise. Get the hide off, the guts out (or leave them in, correctly), and the meat cooling fast, and the reward is some of the finest wild game on the continent. Get it wrong — let body heat linger, let dirt and hair contaminate the quarters, leave meat in plastic overnight — and you can ruin hundreds of pounds of meat before it ever reaches a cooler.
This guide walks through everything you need to know: the kit to have in your pack before you pull the trigger, how to approach a downed animal safely, the two proven methods for breaking a moose down in the field, and how to cool, bag, and pack out the meat so it arrives at home in prime condition. The steps are written for first-time moose hunters, but the meat-care fundamentals here matter on every animal, every year.
As an Amazon Associate, Moose Mulitia earns from qualifying purchases.
Before You Start: The Field Dressing Kit
Nobody plans to lose meat. Meat is lost because the hunter arrived at the carcass without the right tools and had to improvise. A moose will humble improvised tools fast. Assemble this kit and keep it in a dedicated pouch in your pack — not scattered across three bags, not left at camp. The day you shoot a moose in a bog a mile from the truck is the day you will be glad it is all in one place.
Knives. You want a sturdy fixed-blade knife with a 4 to 5 inch blade as your primary workhorse. The Morakniv Companion is an inexpensive, tough blade that takes a shaving edge; the Benchmade Steep Country is a heavier-duty option with a grippy handle that stays put when things get slick. A replaceable-blade knife such as the Outdoor Edge RazorLite is worth its weight: when the edge dulls on hide and hair, you swap in a fresh blade in seconds instead of stopping to sharpen in fading light.
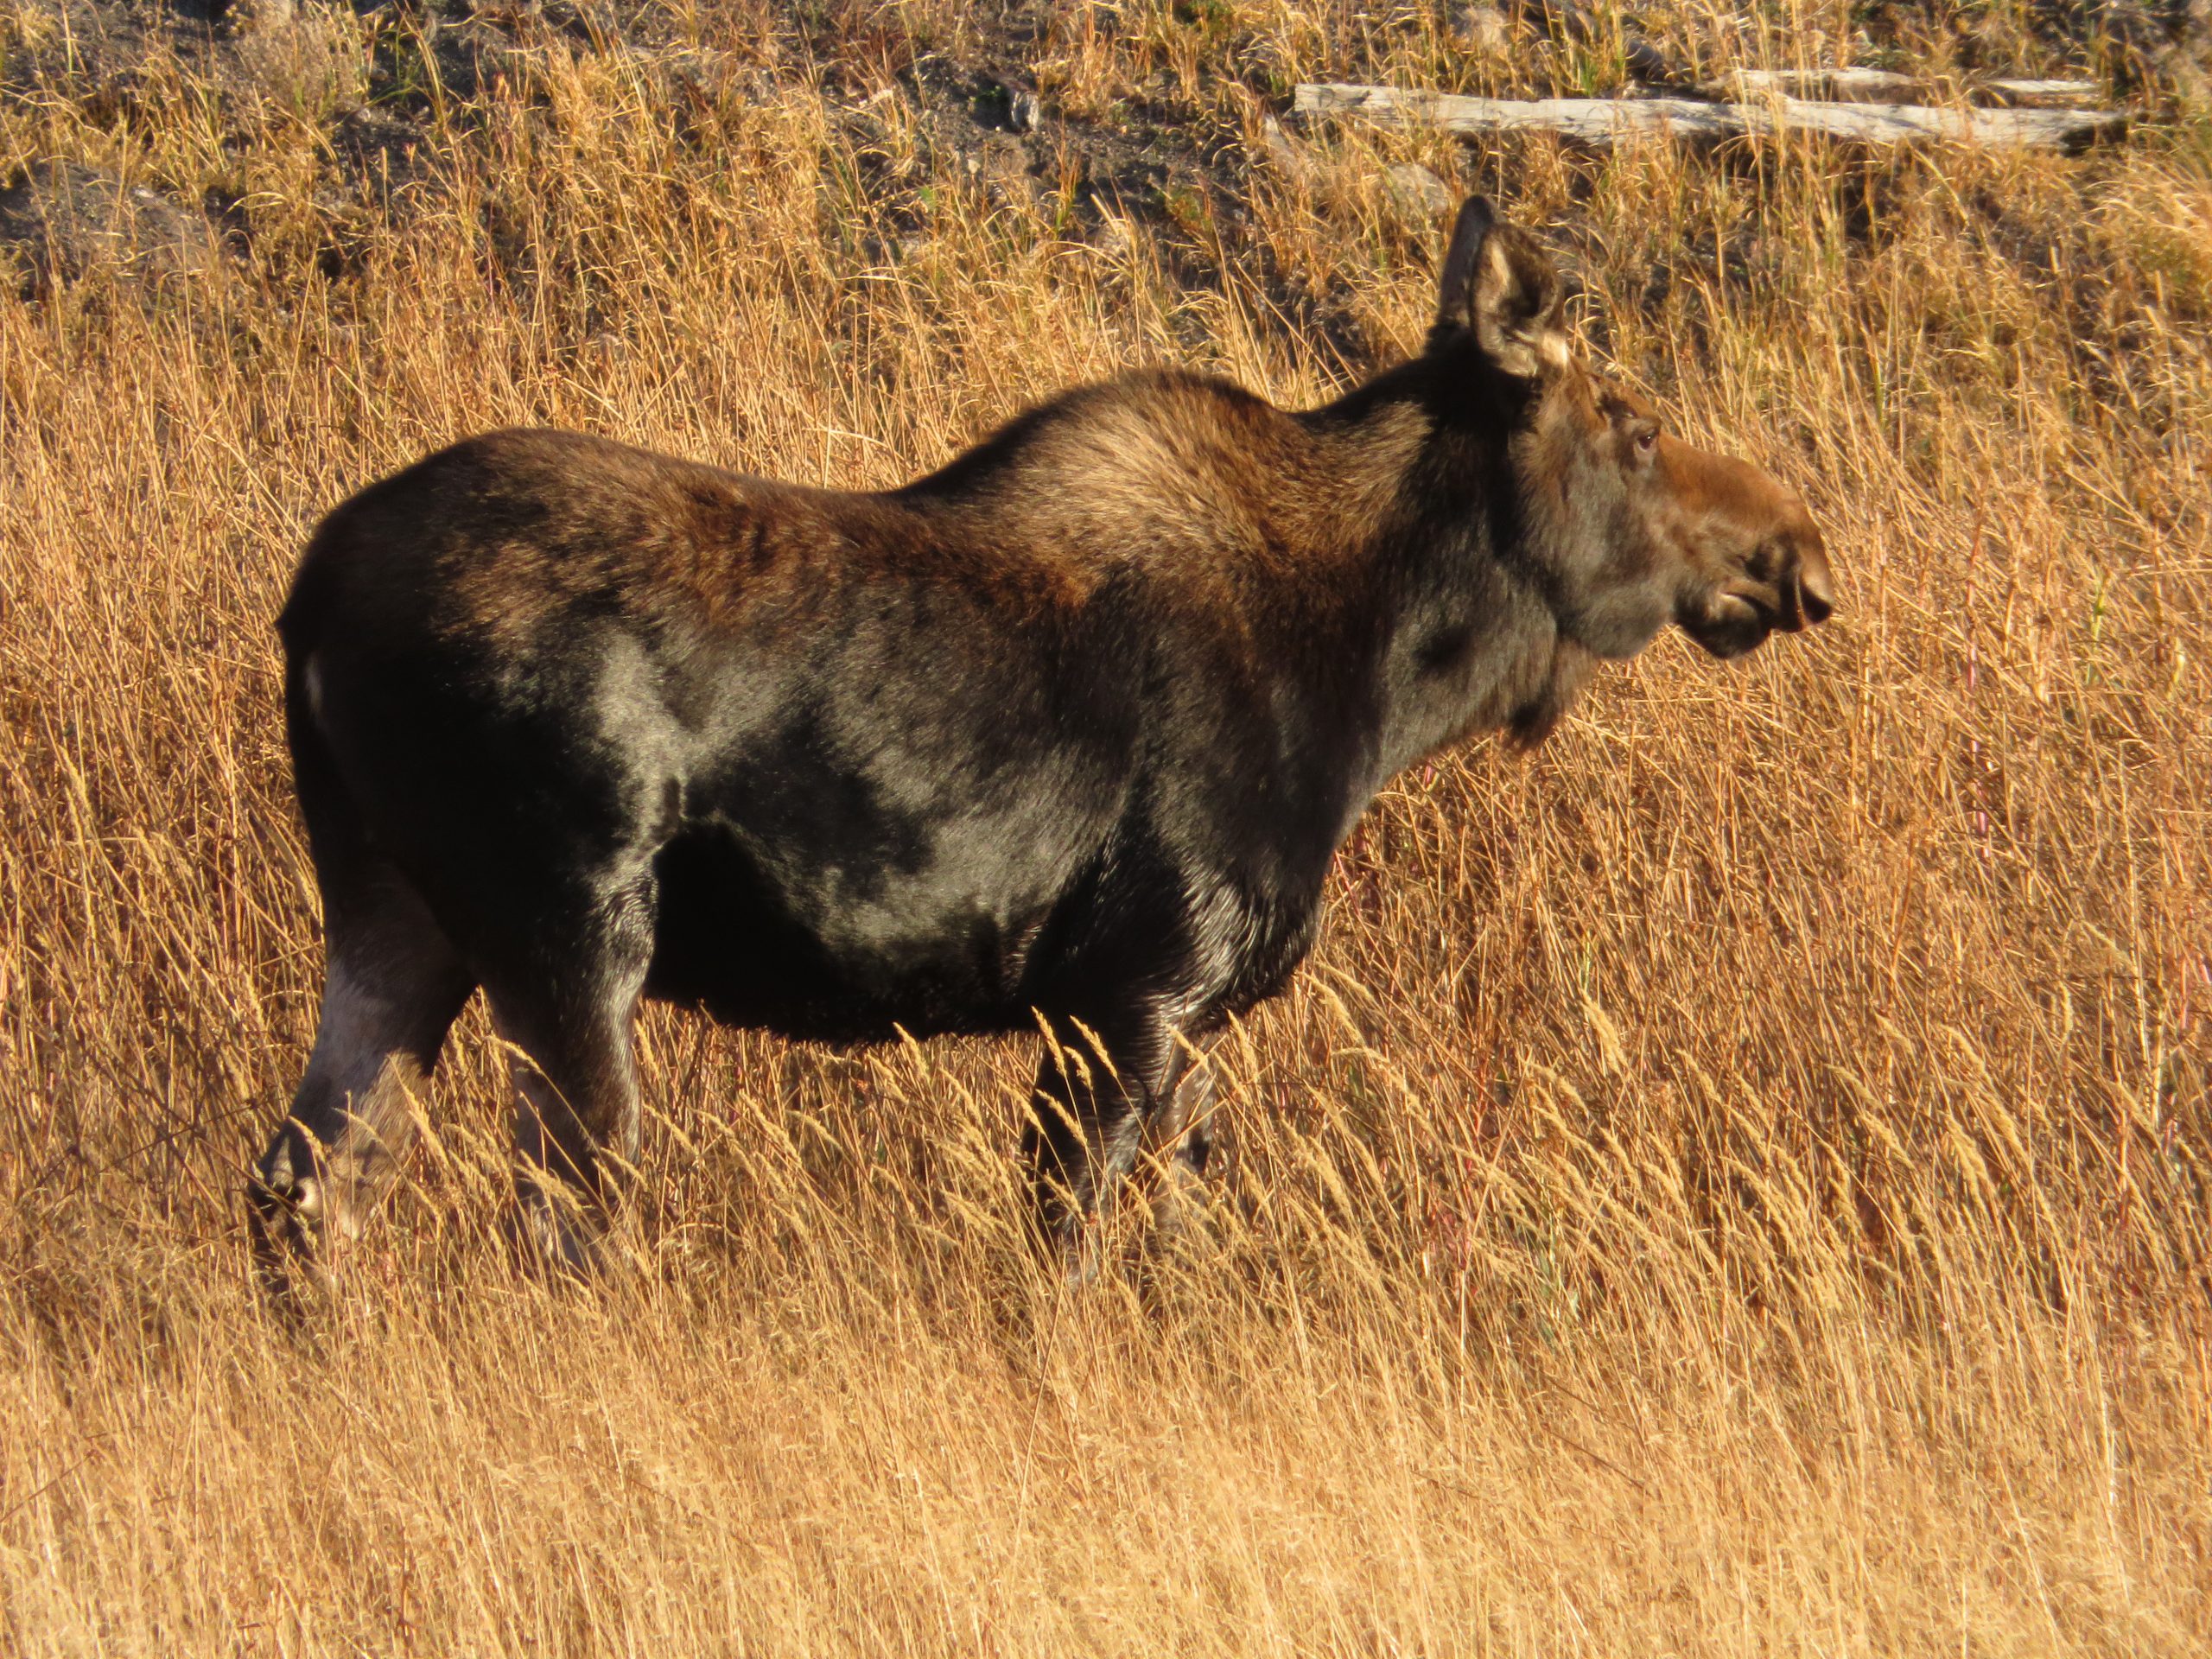
Sharpener. A small diamond or carbide field sharpener weighs nothing and saves the day. Hide and hair dull a blade faster than meat ever will.
Bone saw. A Gerber Exchange-A-Blade saw handles the sternum, pelvis, and leg joints on the traditional method, and it is the tool for the evidence-of-sex and rib work some jurisdictions expect. For a full kit breakdown, see The Ultimate Moose Hunting Gear Checklist.
Game bags. Bring at least six full-size breathable game bags — the Caribou Gear game bags style cotton or synthetic mesh sets are the standard for a reason. Meat goes straight from the carcass into a bag; never pile quarters on the ground naked and never, ever use plastic bags or tarps wrapped around meat in the field. Plastic traps heat and moisture and turns a quarter into a bacterial incubator.
Tarp or ground cloth. A lightweight lightweight canvas tarp or even an old bedsheet gives you a clean surface to lay bagged meat on and a way to cover exposed meat while you work the other side.
Gloves. A few pairs of shoulder-length gutting gloves plus a handful of nitrile gloves underneath. Blood under the fingernails is a badge of nothing; warm hands that still work are what matter when the temperature drops.
Headlamp. Moose hunts run long and animals are often found at last light. A Petzl Actik with fresh batteries is standard equipment, and carry a spare set of batteries.
Rope or paracord, pack frame, and a pen. Rope for tying legs and hanging bags; a frame pack rated for real weight for the pack-out; a pen for filling out your tag. Tag the animal before you start cutting — in most jurisdictions the tag must be attached before the carcass is moved or processed, and details matter to a conservation officer.
First Things First: Approaching a Downed Moose
Assume nothing until you are certain. Approach from behind the head, watching the eyes for any sign of life. A wounded moose is a 1,000-pound animal with sharp hooves and antlers, and it can kill a hunter who gets careless. If there is any doubt, put a finishing shot through the lungs or the base of the skull from a safe angle and wait. This is why shot placement matters so much before the animal ever falls — a well-placed shot through the vitals from an adequate moose caliber and rifle is the first step in meat care, because an animal that dies quickly doesn’t run for a mile, pump adrenaline through the muscles, or expire somewhere unreachable.
Once you are certain the animal is down, take a breath and take stock. Note your location — mark a GPS waypoint or at least fix a landmark. Look around and plan the work area: where will you lay the meat, where are the guts going, which way is the pack-out route. Field dressing a moose is a project, not a chore, and a minute of planning at the start saves a lot of dragging around later.
If you shot the bull at a distance and had to judge it on the hoof, this is also the moment to confirm what you tagged. Our guide on how to field-judge a bull moose explains spread, brow points, and tine counts — worth a refresher now, because many jurisdictions restrict harvests by antler configuration, and the evidence you need to keep attached depends on what you shot.
Decision Point: Gutting vs. the Gutless Method
There are two proven ways to break a moose down, and the right choice depends on where the animal fell and how far the meat has to travel.
- The traditional gutting method — open the body cavity, remove the organs, skin the animal, then quarter it. This is the best choice when the moose fell close to a road, trail, or boat, when you have help, or when you want the organs (heart and liver are excellent eating). It is also the method most hunters already know from deer-sized game.
- The gutless method — skin one side, remove the quarters, backstraps, and trim meat without ever opening the body cavity. This is the standard for remote moose: bogs, timber, and pack-outs where dragging a whole carcass is out of the question. It keeps meat cleaner, cools it faster, and produces packable loads immediately.
Either method, done right, yields the same clean meat. What follows is the full step-by-step for both. Pick the one that fits your situation and commit to it.
The Traditional Gutting Method, Step by Step
Step 1: Tag first, bleed second
Attach your tag according to your jurisdiction’s instructions before you make a cut. Then open the throat and cut the major vessels to bleed the animal. Bleeding does not dramatically change meat quality on its own — the cooling that follows is what matters — but it is standard practice and keeps the work cleaner.
Step 2: Position the carcass
Roll the moose onto its back if the terrain allows. In a bog or on a slope, work with what you have — the gutless method (below) may be the better call. Use rope tied to a nearby tree to keep legs splayed and the body stable.
Step 3: Open the body cavity
Start at the breastbone and cut toward the pelvis, keeping the blade angled upward so you do not puncture the intestines or stomach. Use two fingers of your off hand as a guide under the skin to keep the blade shallow. Cut around the genitals and udder carefully — you may need to keep evidence of sex naturally attached to a hindquarter, so cut to one side of the scrotum or udder rather than through it.
Step 4: Cut the pelvis and sternum
Use the bone saw to split the pelvis so you can open the rear of the cavity, and saw through the sternum to open the chest. This gives you full access and, more importantly, lets heat escape from the deepest part of the carcass.
Step 5: Remove the organs
Reach in and cut the diaphragm free from the ribs, then sever the windpipe and esophagus up at the chest. Roll the organs out to one side in one motion. Keep the heart and liver if you want them — put them in a game bag immediately. Do not let the gut pile sit against the meat; drag it well clear of your work area.
Step 6: Skin and quarter
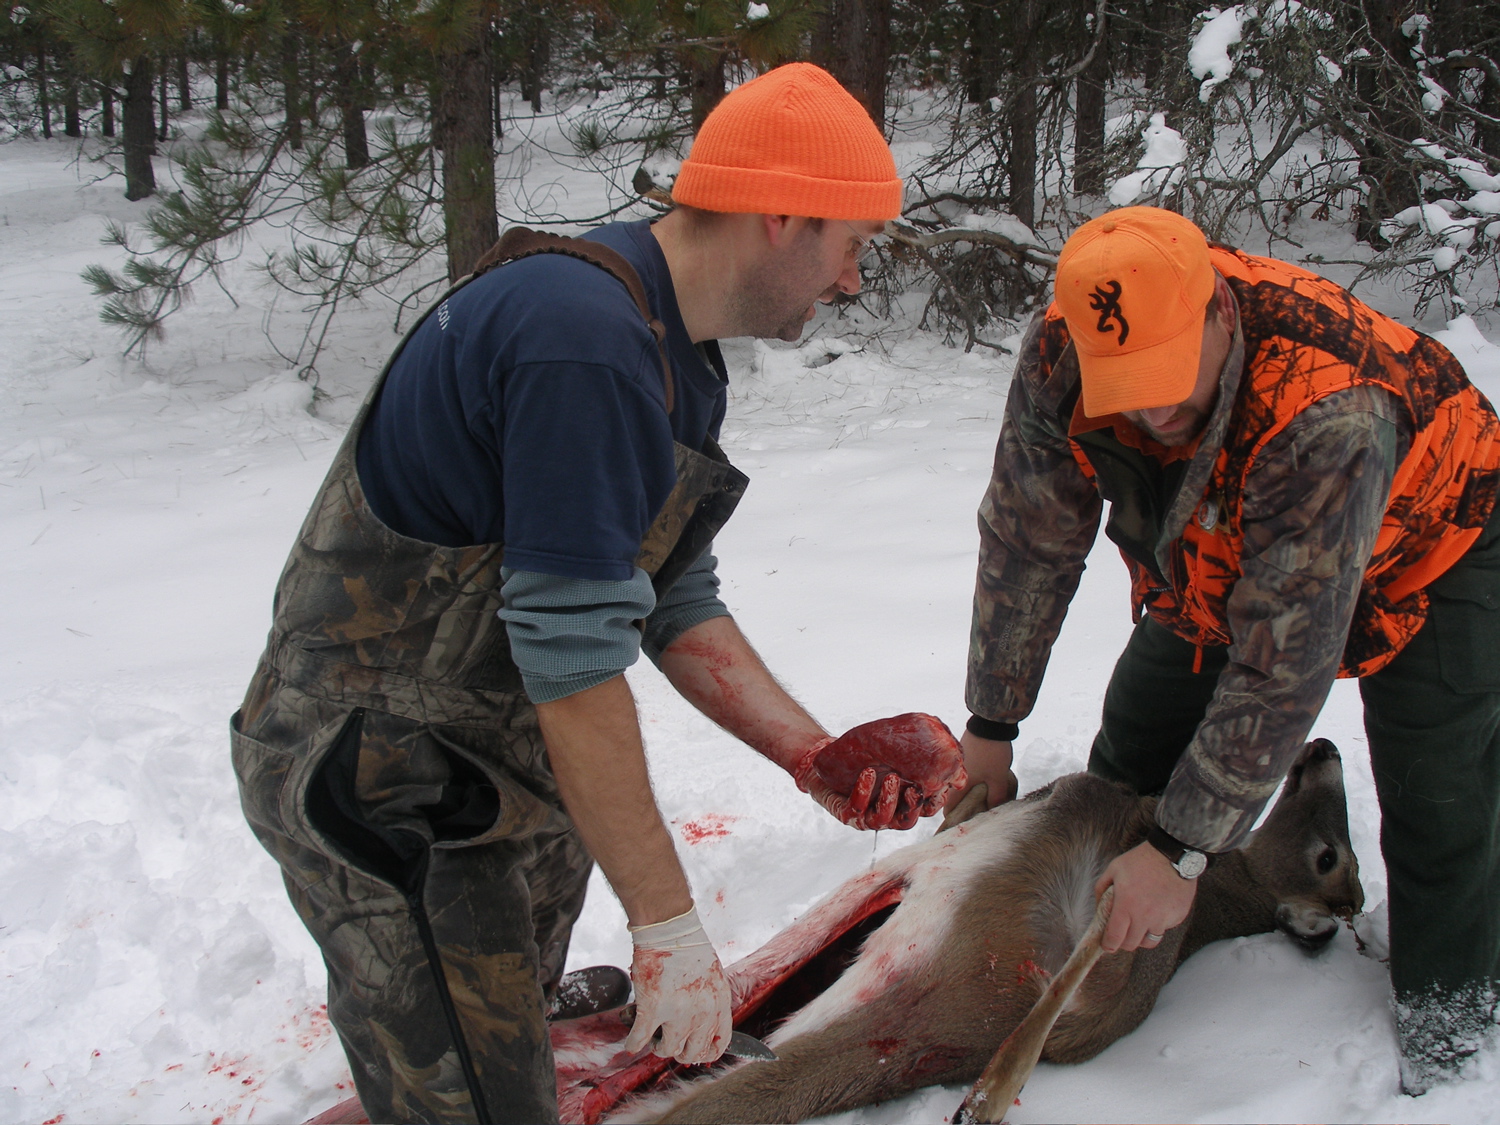
Skin the animal fully, working from the belly cuts outward, always cutting with the hair grain so hair does not fall onto the meat. Once skinned, remove the quarters at the joints: front quarters at the shoulder, hind quarters at the hip socket. Pull the backstraps along the spine and the tenderloins from inside the cavity. Bag every piece the moment it comes off.
Step 7: Get air on everything
The carcass is now open, but the work is not done until the meat is cooling. Prop the ribcage open with a stick, spread the quarters, and get every piece into a breathable bag in the shade. Heat is the enemy, and an intact ribcage on a warm day can stay hot for hours.
The Gutless Method: Skinning and Quartering Without Opening the Cavity
The gutless method is the remote-country standard, and for a moose it is often simply the practical one. A whole moose cannot be dragged out of a muskeg by two people; it has to come out in pieces. Here is the sequence:
- Lay the moose on its side and make one long dorsal cut along the backbone, from the base of the skull to the base of the tail.
- Skin the upper side down to the belly line, peeling the hide off in a sheet and laying the meat-side of the hide on the ground to use as a clean work surface. Always cut with the hair grain.
- Remove the front quarter by lifting the leg and cutting through muscle and connective tissue at the shoulder — no saw needed; the front leg of a moose, like a deer’s, is held on by muscle, not a bony joint.
- Remove the hind quarter at the hip joint: cut around the joint, find the ball-and-socket, and sever the ligaments. On a bull, leave the scrotum naturally attached to this quarter if your jurisdiction requires evidence of sex — this is the quarter that usually carries it.
- Take the backstrap by slicing parallel to the spine, working from the neck toward the pelvis, then peel it free at the hip.
- Trim the neck meat and rib meat into a separate bag. Neck meat on a rutting bull can carry strong flavors, so many hunters bag it separately rather than mixing it with prime cuts.
- Roll the carcass onto the skinned side and repeat on the other side. The tenderloins can be reached by working a knife in just in front of the pelvis along the inside of the backbone without fully opening the cavity.
- Bag every piece immediately. Do not lay naked quarters on the ground — straight from carcass to game bag.
The gutless method leaves the guts, head (unless you are keeping it), feet, and hide behind. Everything edible comes out in bagged, packable loads, and because you never open the cavity, there is no gut-pile stink soaked into the quarters and no risk of puncturing the paunch.
Cooling the Meat: The Race You Cannot See
A moose runs about 101 degrees Fahrenheit inside, and that heat does not care that the air is cool. Bacteria multiply fastest in the danger zone between roughly 40°F and 140°F, and a thick hind quarter can sit in that zone for hours if it is piled with other meat, left in the sun, or wrapped in anything airtight. Spoilage is a temperature problem first and everything else second.
- Shade and air circulation. Hang bagged quarters from a meat pole or lay them in the shade with air moving around them. Never stack warm quarters in a pile and never put them in plastic.
- Night temperatures are your friend. In September and October across moose country, nighttime temperatures usually do the cooling work for you. Hang the meat where the night air can reach it.
- Keep meat dry. Rain and wet ground are worse than most hunters realize. Bagged meat under a fly or in a tent vestibule with airflow beats meat sitting wet in a game bag on the ground.
- Cool before you stack. If you are boating or driving meat out, do not load warm quarters into a boat, truck bed, or cooler and pile them deep. Let each piece cool to ambient temperature first, then load with space between pieces — or use frozen water jugs (not loose ice melting into the bags) in the cooler.
- Aging helps, rushing hurts. Moose meat benefits from aging a few days at just above freezing, but only if it is clean, bagged, and cold. Do not try to age meat that never cooled properly — that is how you lose it.
Game Bags and Packing Out
A mature bull moose yields roughly 600 to 800 pounds of boned meat — more bone-in. That is four to six serious pack loads per person, depending on distance and terrain. Plan for multiple trips, or better, plan for help: the single best piece of pack-out equipment is a second person.
Breathable game bags are not optional equipment; they are what keeps flies off the meat while letting heat escape. Hang or prop bags so air circulates on all sides. If flies are bad, a second layer of bag or a quick dusting of black pepper on the bag surface (not the meat) discourages them — but the real answer to flies is getting the meat cool and moving it out fast.
On the trail, balance your loads and protect the bags. A torn game bag on a pack frame is how quarters end up dragging through mud. Tie bags closed, keep them off the ground at rest stops, and if a bag tears, you will be glad you brought a spare or two.
For the full pack-out gear picture — frames, boots, and everything else that makes the carry possible — see The Ultimate Moose Hunting Gear Checklist, and for the planning that puts you in position to succeed before the shot, Moose Hunting 101: The Ultimate Beginner’s Guide covers the season prep that makes the field work possible.
Evidence of Sex, Tagging, and Transport: The Legal Side
This is the part that gets hunters in trouble, and the rules vary sharply by jurisdiction. Treat the following as general principles and confirm the specifics for your hunt before you go — our North America moose hunting regulations guide is the place to start, with links to the agencies.
- Tag before you cut. In most states and provinces the tag must be attached and validated before the animal is moved, quartered, or processed. If the animal is quartered at the kill site, be ready to show an officer the tag information — who tagged it, when, and where.
- Evidence of sex stays attached. Where the hunt is limited to one sex — and many moose hunts are bull-only or antler-restricted — evidence of sex must typically remain naturally attached to a hindquarter until the meat reaches its final destination or a licensed processor. For a bull, that usually means the scrotum left attached to one hindquarter. For a cow where cows are legal, it is typically the udder. Do not cut this off “to save weight.”
- Some jurisdictions require meat on the bone. Alaska, for example, requires that meat taken before October 1 remain on the bones of the front quarters, hindquarters, and ribs until removed from the field or processed — and some game management units have their own requirements, such as bringing out entire rib racks. Check the current regulations for your unit at the Alaska Department of Fish and Game.
- Antler and skull rules vary. If you are keeping the head, some jurisdictions require the skull plate or antlers to accompany the meat from the field; others have chronic wasting disease rules restricting the transport of brain and spinal tissue across borders. When in doubt, check current regulations with the agency — Ontario’s MNRF, for example, publishes its full summary online, as do the western provinces and every moose state.
- Transport paperwork. If someone else is hauling your meat, many jurisdictions require written permission or a transfer record. Keep the tag with the meat and carry your licence.
None of this is paperwork for paperwork’s sake. These rules exist so wildlife officers can verify legal harvest, and a violation at the kill site can cost you the meat, the tag, and the fine.
Common Mistakes That Ruin Moose Meat
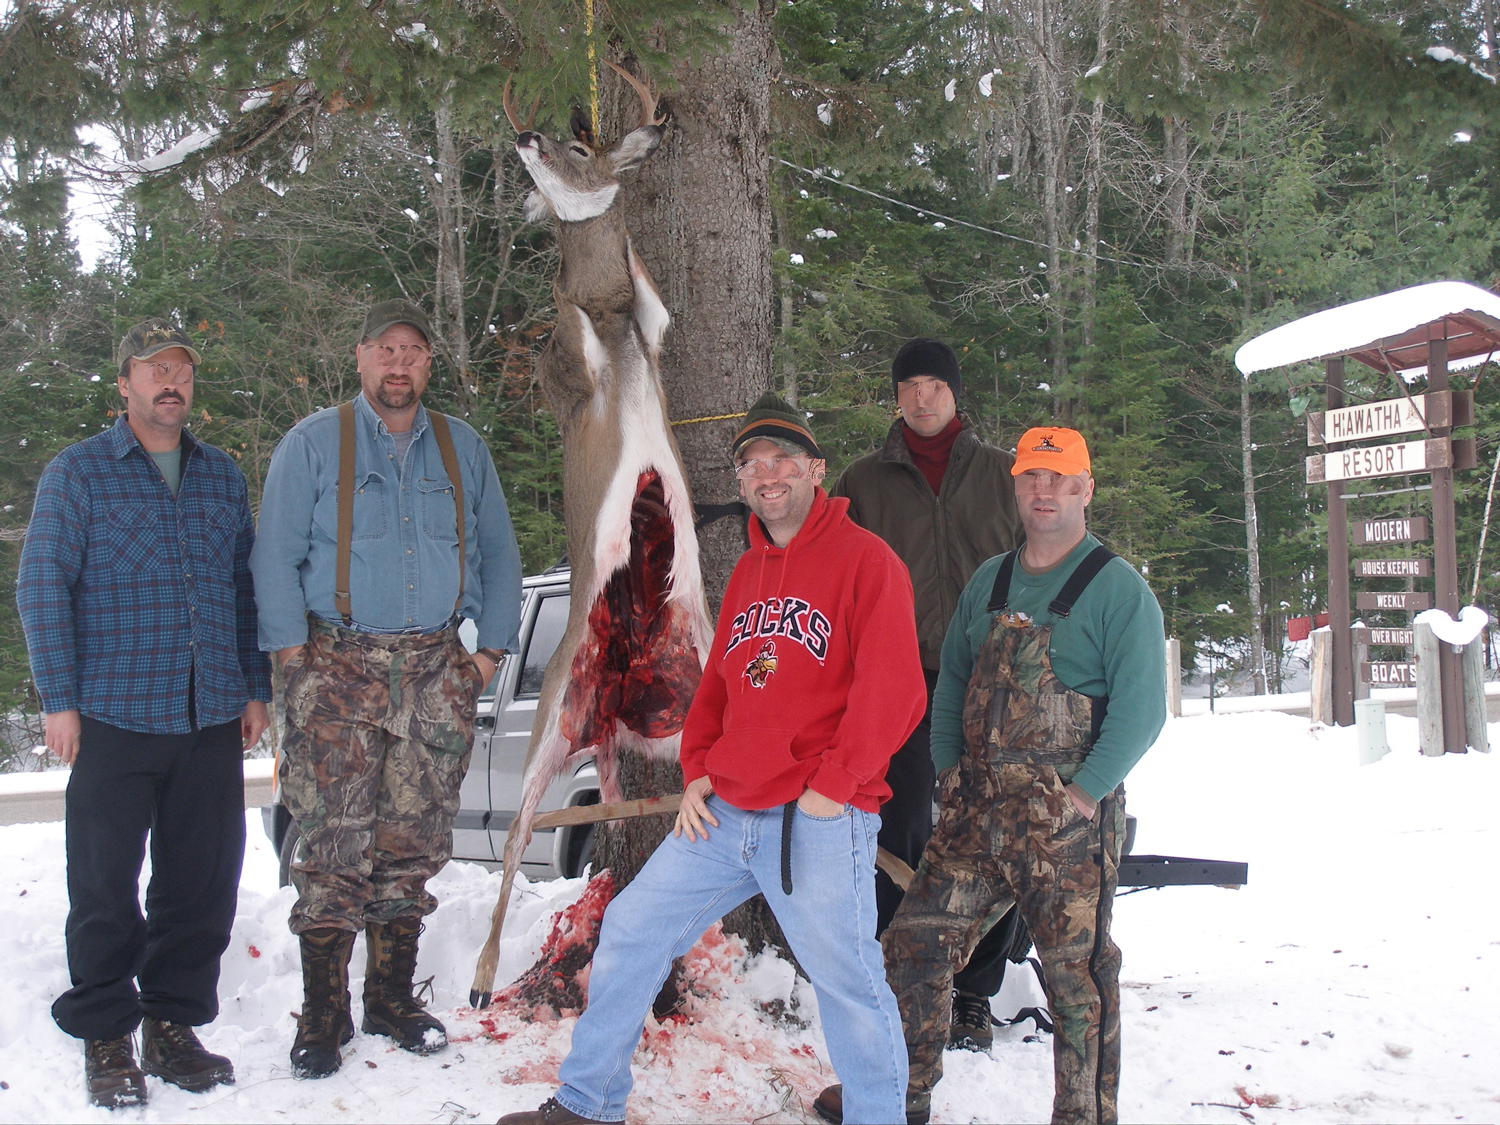
- Waiting too long to start. Photos first is fine — take five minutes. Then get to work. Every half hour of a warm carcass sitting intact is lost margin.
- Leaving the hide on “to protect the meat.” The hide is insulation, and insulation keeps the carcass hot. Skin one side immediately in the gutless method; skin fully in the traditional method. The hide protects nothing but bacteria.
- Cutting against the hair grain. This drives hair into the meat and dulls the blade. Cut with the grain, and pick hair off as you go — it is far easier to remove now than after the meat dries.
- Piling warm quarters together. Four warm quarters in a pile stay warm. Spread them, hang them, give them air.
- Using plastic anywhere near warm meat. Game bags breathe; plastic suffocates. The only plastic in this operation belongs around your hands.
- Dragging the carcass or quarters. Dirt and gut contents ground into meat cannot be fully washed out. Carry, don’t drag.
- Forgetting the tenderloins. The most tender cut on the animal hides inside the body cavity along the backbone. In the excitement of quartering, hunters leave them behind more often than anyone admits. Make them a deliberate step.
- Stepping over the carcass. Boots carry everything the woods offer. Walk around, not over.
Field Dressing FAQs
How long can a moose sit before field dressing?
Start as soon as the animal is confirmed down and the tag is attached. In cool weather you have more margin, but there is no scenario where waiting improves the meat. Gut or skin the animal within the hour if you can.
Should I gut the moose or use the gutless method?
If you are close to the road or boat and want the organs, gut it. If the moose is any real distance from motorized transport, go gutless — it is faster, cleaner, and the meat is bagged and cooling sooner.
Do I need to keep the hide?
Only if you want it tanned or if your jurisdiction requires the hide to accompany the meat for identification. Otherwise the hide stays in the woods. If you are keeping it, salt it or get it to a tannery quickly — a green hide spoils just like meat.
How many game bags does a moose take?
Six large bags is the practical minimum: four quarters, backstraps and tenderloins, and trim/organ meat. Bring eight if you have the space — a spare bag has saved more than one pack-out.
Can I debone the meat in the field?
You can, and on a long pack-out it saves serious weight — a hind quarter loses roughly half its carry weight deboned. But boned meat has far more exposed surface area, which means more exposure to dirt, more surface to cool, and in some jurisdictions (parts of Alaska early season, for example) deboning in the field is restricted. Keep meat on the bone when the law or the weather calls for it.
What do I do with the gut pile and remains?
Leave them where they fall, well away from trails and water sources. Scavengers — ravens, eagles, bears — will clean up a gut pile fast. In bear country, do your butchering work and move the meat cache away from the gut pile, and keep a clean camp.
Field dressing a moose is a big job, but it is a straightforward one: sharp knife, clean cuts, hide off, meat cooling, bags on, evidence of sex attached, tag validated. Do those things and the hardest part of the hunt — the part most hunters underestimate — becomes the most satisfying part. There is nothing quite like a freezer full of moose meat you handled right from the ground up.
Want to talk shop with other moose hunters? Join the Moose Mulitia community on Facebook — share your season photos, ask questions, and see what other hunters are filling their freezers with: https://www.facebook.com/profile.php?id=100066742959434